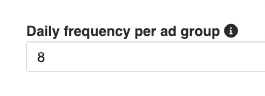
Frequency capping
Control the frequency at which ads from an ad group are shown to users within a 24-hour period.
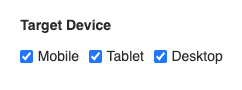
Device targeting
Choose which devices your ads are displayed on: Desktop, mobile, or tablet.
Budget spending
Determine how your campaign budget is allocated.

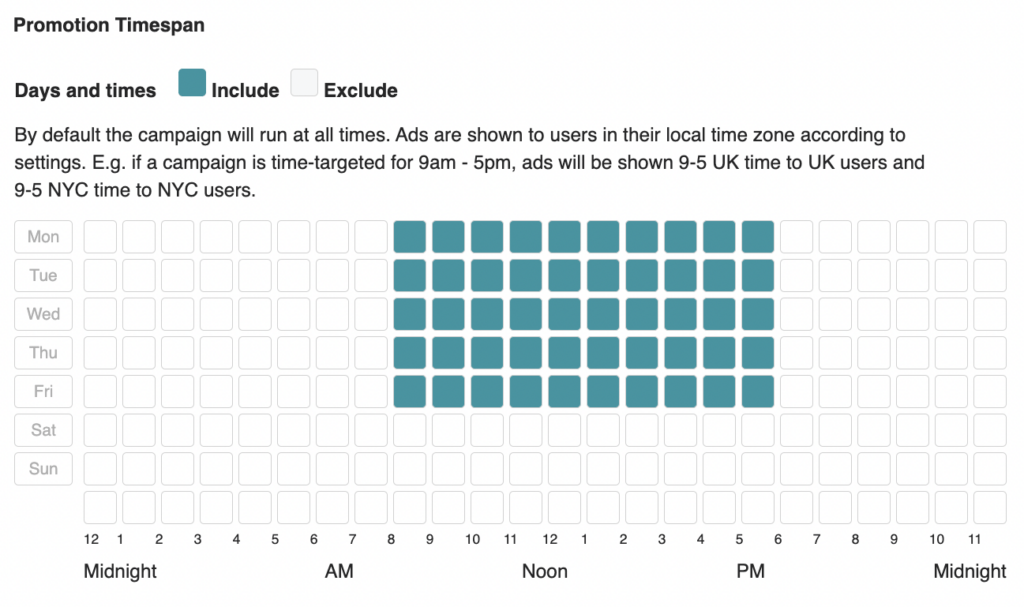
Campaign promotion time span
Schedule your campaign to run on specific days of the week and hours of the day.
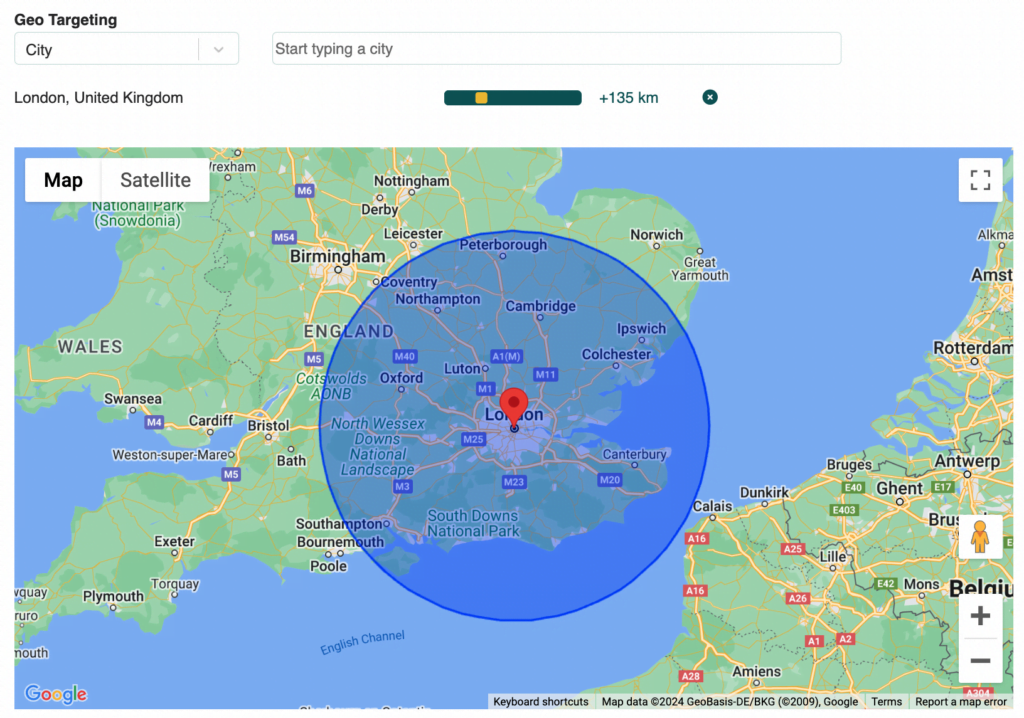
Geo targeting
Target readers based on their location, whether it’s a country, city, region, or zip code.
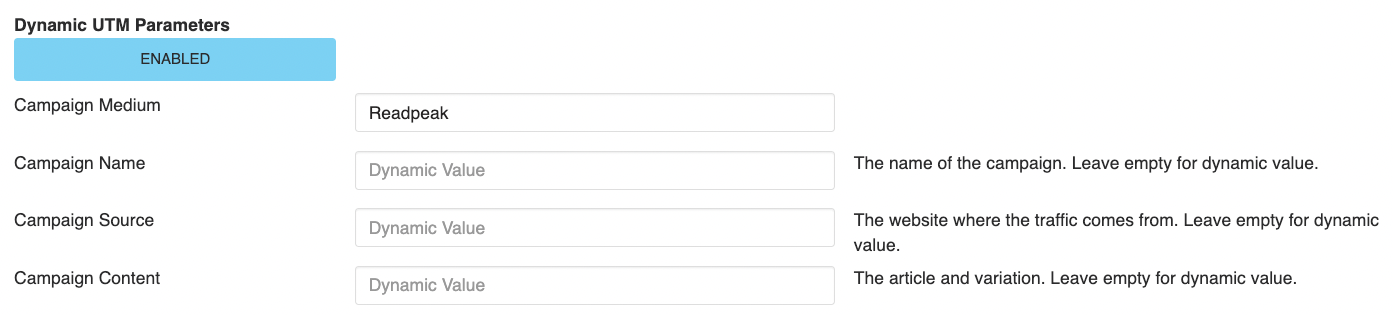
Dynamic UTM parameters for Google Analytics
Enable Dynamic UTM Parameters to automatically generate UTM parameters for tracking campaign performance in Google Analytics.
If you have any questions regarding the settings, reach out to us through the platform chat.